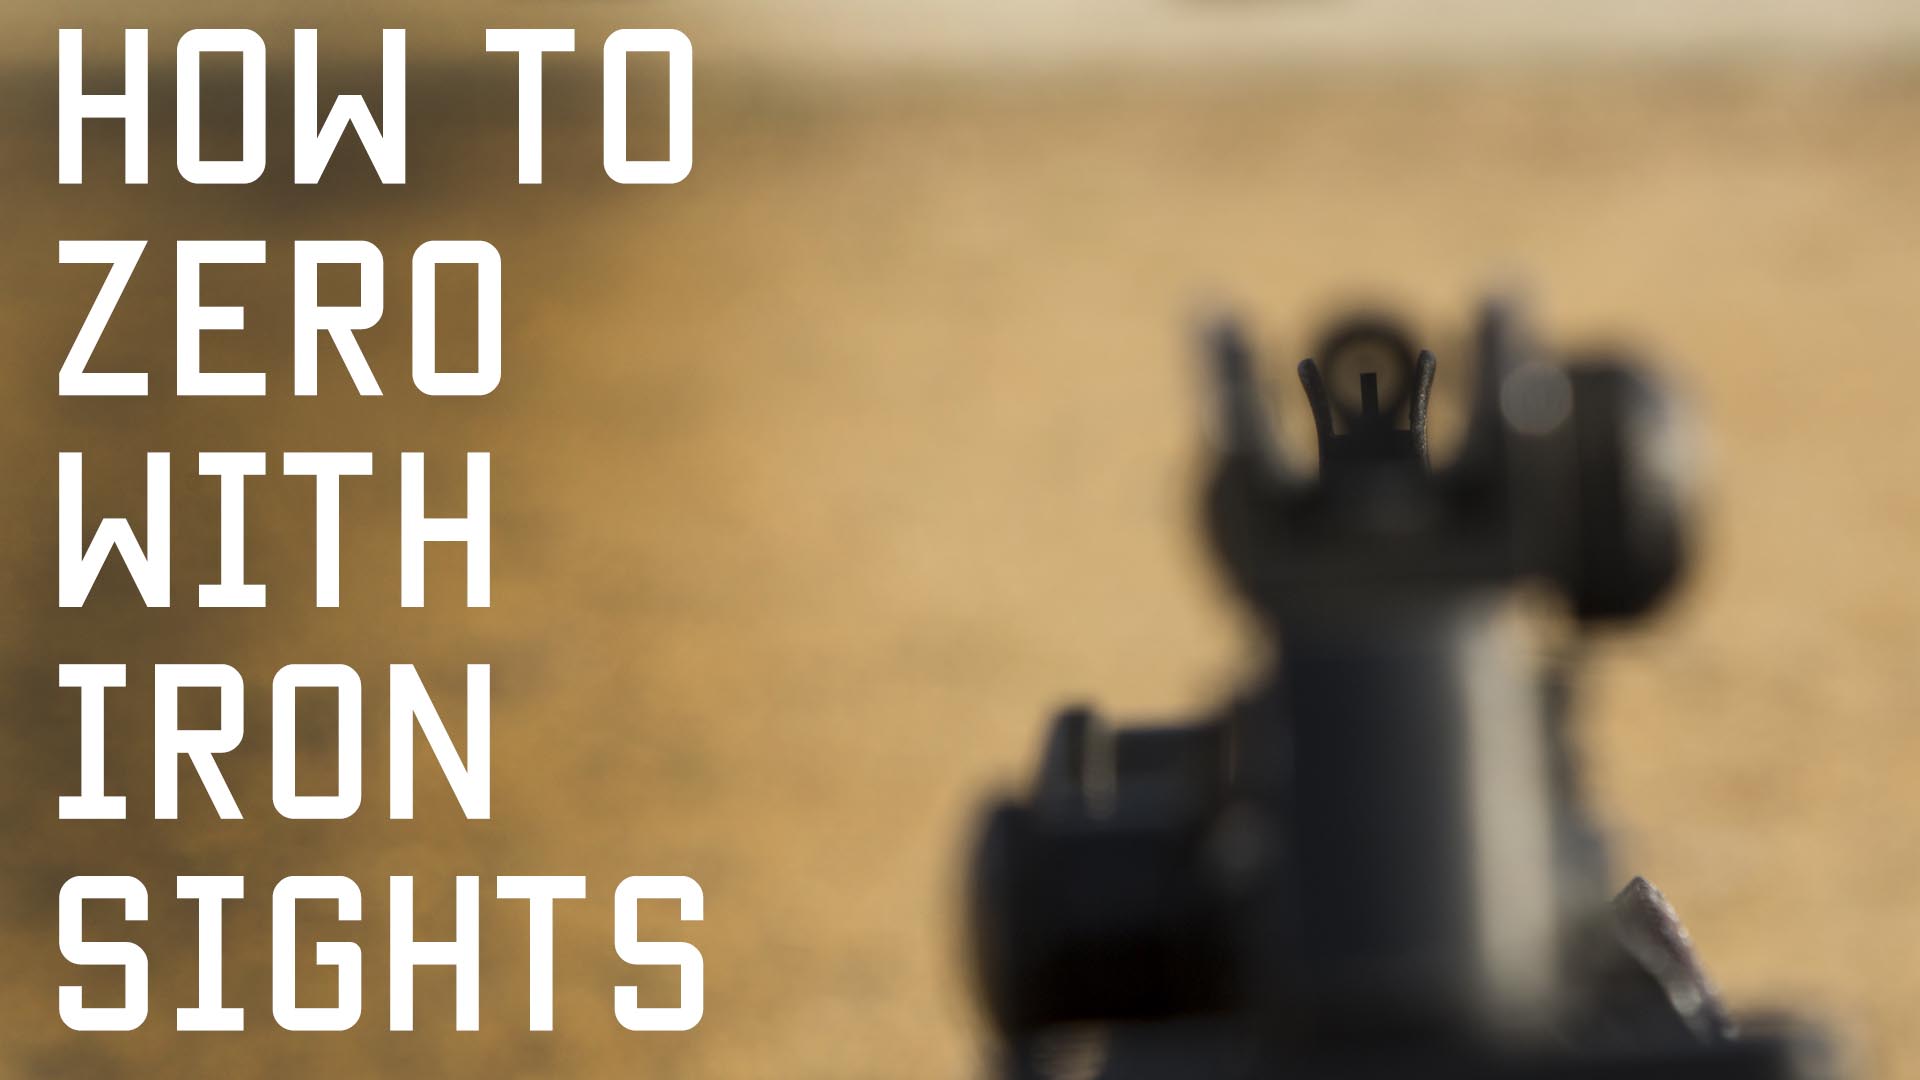
Here at Tactical Rifleman, we wanted a YouTube Channel where operators and civilians could go to get information on how to “Shoot, Move, and Communicate.” So, this week, we are going back to our core basics and we are going to talk about how to zero Iron Sights on a typical rifle; AK, AR, FAL, it really doesn’t matter, as the principles remain the same. I thought everyone knew how to zero Iron Sights, but we have had multiple viewers ask for help; so here we are… ask and you shall receive.
Whenever you are zeroing your sight, irons or optics, always try to ensure you have a stable firing position. That includes proper body position, sight alignment, and a good natural point of aim. Once you have properly mounted your Iron Sights, whether they are built on or “Back Up,”, they should be fairly close right out of the box (on paper at 25 meters).
Whether you zero at 25, 50, or 100 meters; I don’t care. There are pros and cons of each, and we actually cover them in a different video (25 vs 50 meter Zeros). For this video we used 50 meters.
Use a good zero target. You can download them for free all over the internet or design your own. Just make sure they print to scale. I like to use bright orange pasties, but for this video we used the standard military zero target. No matter what target you use, ensure it has a small highly-visible center. This will give you a small point of aim.
We like to zero with 3-5 round groups. I actually prefer 5 round groups, as I’ll cover in a later video, but that would have added 5 more seconds to an already long YouTube video. Seriously… that’s what I get told by the film crew.
What kills people, when shooting Iron Sights, is that they don’t focus on sight alignment. Those sight have got to be perfectly lined up. For easy math, let’s say your rifle sights are 2 feet apart. If your sights are not lined up, say a quarter of an inch out of alignment; that doubles every 2 feet. Quarter becomes a half, a half becomes an inch and then then thing you know, you are missing by 6 inches at 100 meters.
Adjustments (clicks) will depend on the distance that you are shooting at, and the type sights you are using. If you are not sure; look it up in the manual that came with the sights, or Google it on the web. Still can’t find it?... Make bold corrections of 10 clicks, and then measure how far 10 clicks moved you… divide by 10, and you now have the value of each click.
Make your adjustments and repeat. Again, fire another group, mark target, and adjust the Iron Sights as needed. Too Easy.
This week Rob takes us through another Agility Drill. This one is called the “Dice Drill.” As Rob says, it’s not meant to be tactical, but rather more of just an exercise drill (Shooting & Moving), that builds off of his “One Leg Drill.” All you need is 5 small cones, and then draw a 2 meter circle around the center cone.
The key here, is for the coach to call the new number right as the shooter enters the circle around the center cone. The shooter must then adjust his movements to the new situation and move rapidly to the new cone to fire those next two bullets.
As with the other agility drills; start slick, then add kit. Start slow, then add more speed. Start close, and then move farther out. Just, the one thing we don’t want you to change, is the placement of accurate shots. Don’t sacrifice accuracy for speed.
We like to run these drills with Steel targets, using Frangible Ammo, as it lets the instructors cycle through multiple students faster. However, if you don’t have steel targets, or Frang, you can substitute scorable paper targets.
Again, all you need is 5 cones. That said, if you have the range space and 4 barricades; you can also do this drill using wooden barricades. The goal is to make you faster, at moving to cover, and delivering well-aimed shots quickly.
So, get off the couch, jam a few mags, and go give this drill a try. Thanks for watching. Strength & Honor, TR.
When utilizing a blunt &/or bladed weapon in a combat situation, a big deal is the
understanding on how & when to employ them. But you must understand that YOU
HAVE TO GET YOUR FIREARMS INTO THE FIGHT! A couple of possible situations
where you might want to employ a blunt or bladed weapon into the fight would be:
- When in a close quarters battle, and all your firearms has either failed or you
simply ran out of ammo (in this situation, possibly your rifle &/or pistol can
be used as a blunt object, to muzzle strike, pistol whip, etc..)
- If you have to go to a meeting within a non-permissive environment (or semi-
permissive) and you are told to not bring any weapons (or you have them
taken away by the security guards). You will have to do a quick scan of your
surroundings as you are approaching the meeting area, as well as inside the
meeting area, for weapons &/or possible improvised weapons that can be
used (ie; a pen, a broom, a mop, water boiling on the stove, pots, pans, eating
utensils, extension cord, glass bottle that you can break, etc…)
Whatever the situation is, it’s a good thing having the ability (& skills) to employ anything, &/or everything, you can utilize in a combat situation, to keep you
in the fight. MISSION ACCOMPLISHMENT &/or SURVIVAL, is vital!
A lot of the techniques used with a “baton-like” weapon, can generally be
transferred over into techniques with a bladed weapon. The most common
technique that someone with no skill using a baton, is generally holding it like a
baseball bat and swing away. I am not saying that is a bad thing, you may get lucky
and hit a ‘Home Run’. But if you have some training with using a baton or a knife,
you will feel more comfortable to allow your other hand to be free to grab, push,
pull, &/or whatever is necessary to get the job done. I would often carry a
lightweight mini collapsible baton on my kit, as well as a fixed blade (and a folding a
blade in my cargo pocket). It was small & lightweight, so it was out of the way and
didn’t really add anymore weight to the kit I wore in combat. When I needed it, it
was easily accessible for possible nonlethal means but was readily available to do a
lot of damage &/or destroy whatever or whomever I please. With a blunt object,
you can strike just about anywhere on the body, and notice that when striking
certain areas you will get a better outcome.
Help support Tactical Rifleman by purchasing one of our T-shirts, check them out at: https://shop.spreadshirt.com/Tacticalrifleman/
Thanks for watching. Strength & Honor, TR.
This week Rob shows us a great drill for practicing the manipulation of your rifle around a barrier, which may be a door frame or another person in front of you.
We are not talking about switching shoulders from strong-side to weak-side, as you would not do that while just breaking the threshold into a new room. Rather, we reserve switching shoulders for when you need to shoot around the off-side of a barrier. This allows the shooter to keep the majority of his body behind cover. This is a valuable technique, and we will be covering it in another video.
Again, in this video, we are just showing a great drill for practicing the manipulation of your rifle around a barrier. Most people on the flat range only practice “Up Drills” from the “Low Ready” position, but once they go into the shoot house many of them are running “High Ready” position. You need to practice both.
So, watch the video a couple of times, and see how smooth Rob is using all three techniques (muzzle down, muzzle up, muzzle back). Then, go out to the range and run the drills yourself. The goal is to use the technique that is the fastest for each situation. While “muzzle back” might be faster on most drills, you would flag your buddy in front of you. “High Ready” may seem slower to get that good cheek weld, but it allows better position for non-lethal strikes. All have strong & weak points. So, you need to master all three techniques.
Once you have all three techniques down, try running it against the Pro-Timer. Identify which technique is the fastest for you. Remember accuracy still counts.
Thanks for watching. Strength & Honor, TR.
This week at Tactical Rifleman we had the opportunity to spend some time with our friend David Ives from Nemesis Arms, and his very impressive creation, the Valkyrie ambidextrous precision rifle. You can find them online at nemesisarms.com You may have seen a glimpse of the Valkyrie in a few popular movies and television shows such as; The Bourne Legacy, Person of Interest, and Marvel's Agents of S.H.I.E.L.D, just to name a few. The Valkyrie is also currently serving with several U.S. and Allied SOF forces on the frontlines around the globe.
As the Chief Engineer, President and Owner of Nemesis Arms, David described to us, how he set out to create and engineer the first ever purpose-built fully ambidextrous, multi-caliber, take down precision rifle system. David told us he achieved his primary design goal by engineering and machining the Valkyrie receivers; in house at his facility in Park City Kentucky, to accept both a right and left hand bolt. When the Tactical Rifleman team got behind the rifle we found that the bolt exchange was achieved extremely rapidly and required absolutely no tools! You simply depress a single bolt release detent button, remove one bolt and swap if for the other. In addition, all of the fire controls and magazine release are designed around the receiver center-line so they can be manipulated with either hand from both sides of the weapon system. The ingenious tool-less design is carried throughout the weapons system as you can see in the video.
The ambidextrous, multi-caliber, take down conceal-ability, and portability of this type of weapons system is very attractive to SOF forces; because for them this means less cost for the units, both in procurement and employment. It reduces the cost of purchasing and shipping both left and right handed precision rifles to deployed units. To the trained operator these features allow the Valkyrie to be employed in a multitude of different mission parameters, in addition the ambidextrous design provides the operator the flexibility to achieve a more covered and/or concealed firing position during the mission. This can directly translate into the operator's increased survivability and mission success! The multi-caliber options of the Valkyrie allow it to be tailored to specific mission requirements.
The Valkyrie's proprietary return-to-zero, tool-less take down chassis technology and 11 pound overall weight showcases its conceal-ability, portability, and versatility. Throughout the course of the day at the T1G facility the Tactical Rifleman team assembled and disassembled the Valkyrie at least six times and the weapon returned to zero every time and continuously delivered a high degree of accuracy!
If you have the opportunity to get behind and shoot a Valkyrie we highly recommend it!
If you have questions or comments please let us know or contact Nemesis Arms directly. You can find them online at nemesisarms.com
Help support Tactical Rifleman by purchasing one of our T-shirts, check them out at: https://shop.spreadshirt.com/Tacticalrifleman/
Again thanks for watching! Strength & Honor, K