
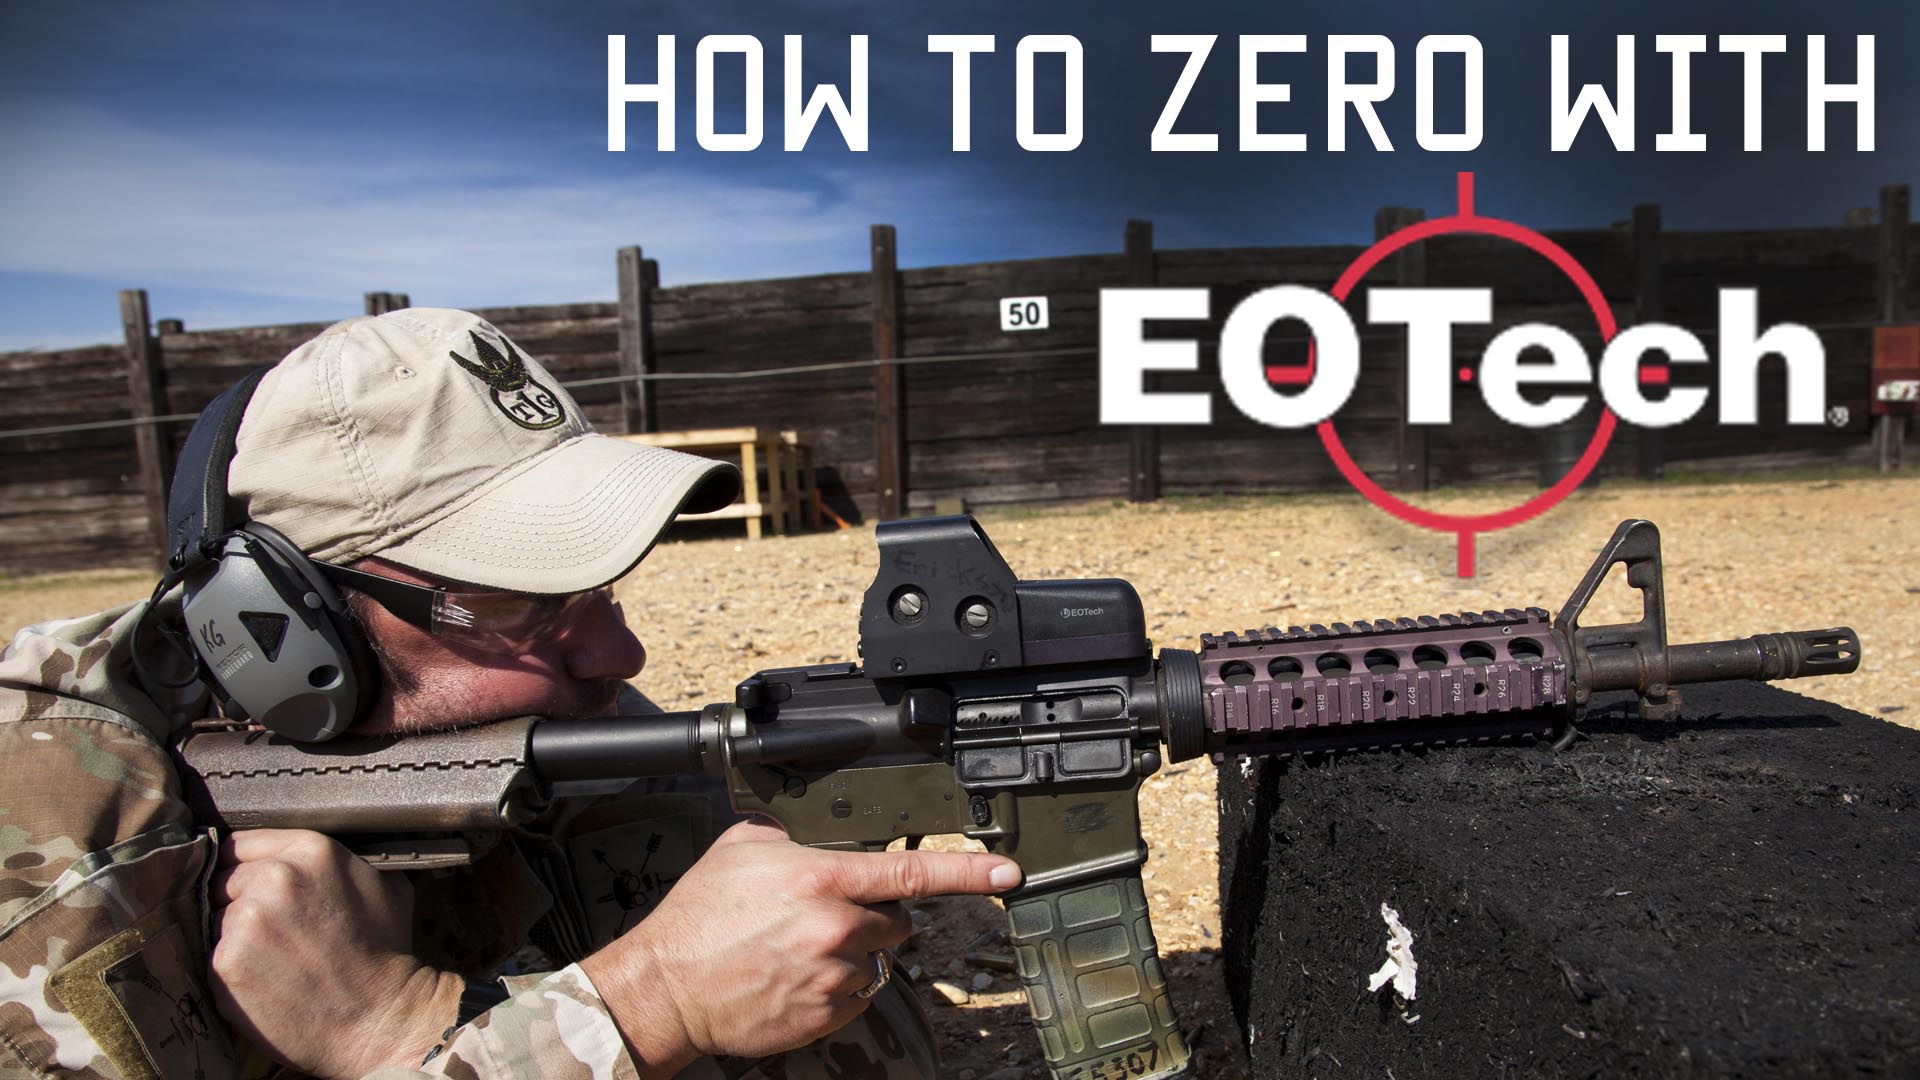
Here at Tactical Rifleman, we wanted a YouTube Channel where operators and civilians could go to get information on how to “Shoot, Move, and Communicate.” So, this week, we are going back to our core basics and we are going to talk about how to zero an EOTech red dot sight. EOTechs started showing up at Group in the late 90s, and are battle proven. I personally prefer a EOTech over an Aimpoint; simply because the EOTech has a smaller center dot (for fine longer distance shooting) and also has a large Circle that is easily acquired at CQB distances. Yes, there was some bad press about zero shift with massive temperature changes, but I have never had issues of zero shift. I have had several go “Dim” on me, but never lose a zero.
Now, back to the video… I thought everyone knew how to zero red dots, but we have had multiple viewers ask for help; so here we are… ask and you shall receive.
Whenever you are zeroing your sight, irons or optics, always try to ensure you have a stable firing position. That includes proper body position, sight alignment, and a good natural point of aim. Once you have properly mounted your EOTech (I’ve seen them mounted backwards), it should be fairly close right out of the box (on paper at 25 meters). You can also co-witness your EOTech to your Iron Sights, if you already have them zeroed. By this I mean, line up your iron sights on the bullseye and hold them on target, while your partner dials your red dot to your sight picture using the windage and elevation adjustments on the side of your EOTech. This works most of the time. Sometimes, if you are running a tall mount to clear illuminators/lasers, your EOTech’s objective lens may be slightly too high for this technique but, again, it works most of the time.
Whether you zero at 25, 50, or 100 meters; I don’t care. There are pros and cons of each, and we actually cover them in a different video (25 vs 50 meter Zeros https://youtu.be/7s5v0aeENOY ). For this video we used 50 meters.
Use a good zero target. You can download them for free all over the internet or design your own. Just make sure they print to scale. I like a big dark circle with a dot in the middle for zeroing red dot sights. Dim the dot till you can just barely see it. This will give you a small point of aim.
We like to zero with 3-5 round groups. I actually prefer 5 round groups, as I’ll cover in a later video, but that would have added 5 more seconds to an already long YouTube video. Seriously… that’s what I get told by the film crew.
Adjustments (clicks) will depend on the distance that you are shooting at.
1 click = ⅛ inch at 25 yards
1 click = ¼ inch at 50 yards
1 click = ½ inch at 100 yards
Make your adjustments and repeat. Again, fire another group, mark target, and adjust the EOTech scope as needed. Too Easy.
Once you are dead center, pop a few more shots just to make sure, and then you’re done, right? Close. Once you are zeroed, always try to go back out to distance and verify that your zero is correct. A 50 meter zero should put your 5.56mm AR rifle right on at 200 meters. So, if you have a long distance range, go out and double check your zero at 200 meters. You may find that you are slightly left/right or high/low. You can now make fine adjustments to your actual zero, 1 click = roughly 1 inch at 200 meters. Once done, now you know your rifle is dead on and you own the battlefield out to 220 meters.
Thanks for watching. We have done videos for zeroing iron sights and other optics in the past, and will do more in the near future. Strength & Honor, TR.